|
|
|
|
|
Free .pdf Downloads - Vintage Gardening, Preserving, and Recipe Publications--> Most boiling water canners are made of aluminum or porcelain-covered steel; at least one stainless steel model is also available. Boiling water canners have fitted lids and removable racks that are either perforated or shaped wire racks. The canner must be deep enough so that at least one inch of briskly boiling water will be over the tops of jars during processing. Some boiling water canners do not have completely flat bottoms; these will not work well on smooth top ranges. The canner bottom should also be fairly flat for use on electric burners. Either a flat or ridged bottom may be used on a gas burner. To ensure uniform processing of all jars with an electric range, the canner should be no more than 4 inches wider in diameter than the element on which it is heated. (When centered on the burner or element, the canner should not extend over the edge of the burner or element by more than 2 inches on any side.) Before canning on a smooth top range, check the range manufacturer’s advice on suitability for canning and recommended maximum canner size for specific burners. Follow
these steps for successful boiling water canning |
| Before you start preparing your food, place canner rack in the bottom
of a boiling water canner. Fill the canner half full with clean
warm water for a canner load of pint jars. For other sizes and numbers
of jars, you will need to adjust the amount of water so it will be 1 to
2 inches over the top of the filled jars.
Center the canner over the burner and preheat the water to 140 degrees F. for raw-packed foods and to 180 degrees F. for hot-packed foods. You can begin preparing food for your jars while this water is preheating. Load filled jars, fitted with lids and ring bands, into the canner one at a time, using a jar lifter. When moving jars with a jar lifter, make sure the jar lifter is securely positioned below the neck of the jar (below the ring band of the lid). Keep the jar upright at all times. Tilting the jar could cause food to spill into the sealing area of the lid. If you have a shaped wire rack that has handles to hold it on the canner sides, above the water in the canner, you can load jars onto the rack in the raised position and then use the handles to lower the rack with jars into the water. Add more boiling water, if needed, so the water level is at least one inch above the jar tops. Pour the water around the jars and not directly onto them. For process times over 30 minutes, the water level should be 2 inches above the jars. Turn the heat setting to its highest position, cover the canner with its lid and heat until the water boils vigorously. Set a timer (after the water is boiling) for the total minutes required for processing the food. Keep the canner covered for the process time. The heat setting may be lowered as long as a gentle but complete boil is maintained for the entire process time. Add more boiling water during the process, if needed, to keep the water level above the jar tops. Pour the water around the jars and not directly onto them. If the water stops boiling at any time during the process, turn the heat on its highest setting, bring the water back to a vigorous boil, and begin the timing of the process over, from the beginning (using the total original process time). When the jars have been processed in boiling water for the recommended time, turn off the heat and remove the canner lid. Wait 5 minutes before removing jars to allow the canner contents to settle. This waiting period is not required for safety of the food when using USDA or University of Georgia processing times, however. Using a jar lifter, remove the jars one at a time, being careful not to tilt the jars. Carefully place them directly onto a towel or cake cooling rack, leaving at least one inch of space between the jars during cooling. Avoid placing the jars on a cold surface or in a cold draft. Let the jars sit undisturbed while they cool, from 12 to 24 hours. Do not tighten ring bands on the lids or push down on the center of the flat metal lid until the jar is completely cooled. Remove ring bands from sealed jars. Put any unsealed jars in the refrigerator and use first.***Note: Lesson learned..... I leave my ring bands on to avoid accidentally beaking the lid seal if a jar is knocked over in the cupboard or on the shelf. Once unsealed, you have to use it right away. Leaving the bands on protects the lids from popping their seal. Especially nice when transporting jars. No mess in the bag, basket or trunk of the car. Wash jars and lids to remove all residues. |
Temperatures for Food Preservation
Source:
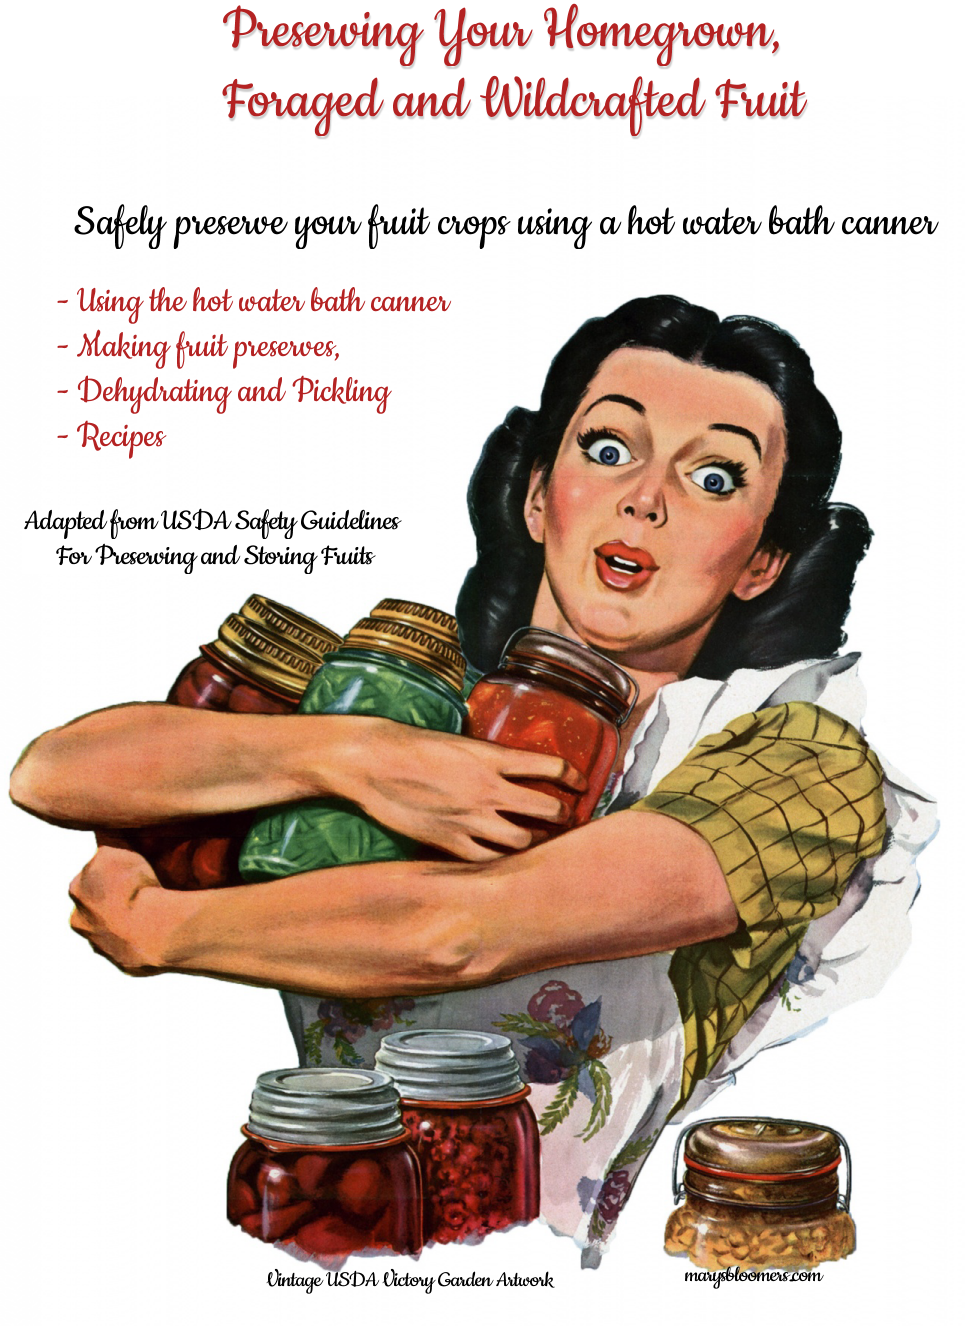
Preserving Fruit--> Foraged,Wildcrafted Fruit---> Jams and Spreads---> Canned Pie Filling---> Dehydrating Fruit---> Pickling---> Storing Your Vegetable Harvests Victory Garden Canning Recipes
Design,
graphics, articles and photos ©2022 marysbloomers.com™ |
