|
|
||
|
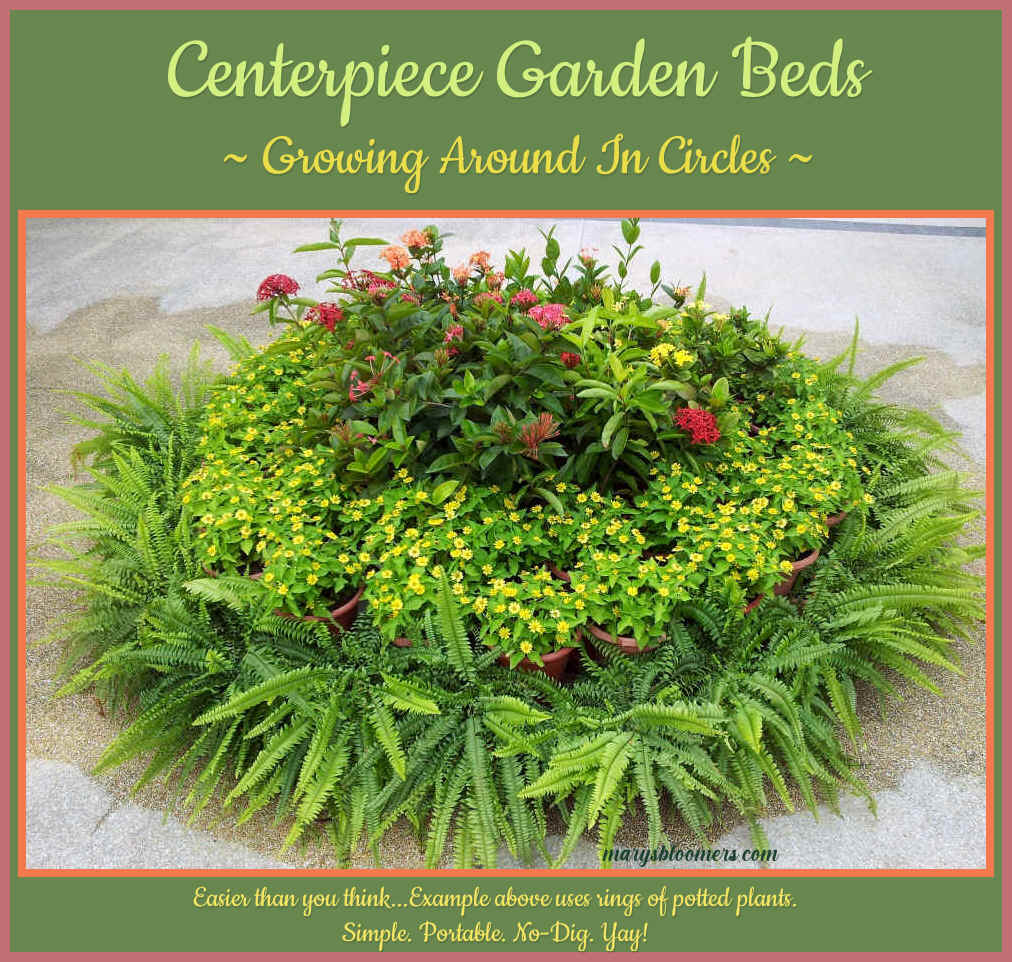
Choose short plants for
the outer ring, medium height, then tall or a focal point plant in the
center. Choose plants that will all be in bloom at the same times, and
remember the garden will be seen from all angles. You must be weedless
and be prepared to fill in big gaps that may occur in the circle. Use of garden
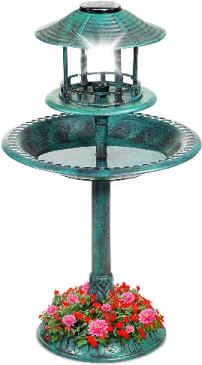
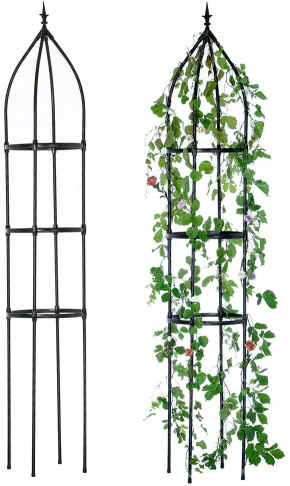
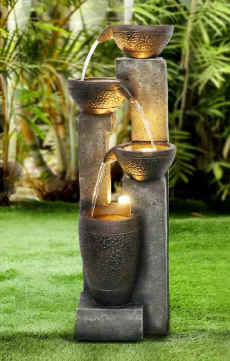
decor is encouraged. Placing a birdbath or fountain, trellis,
arbor, sundial, large pottery planter, or sculpture in the center
is awesome. I've ordered almost a dozen solar decorative items and
sculptures from Amazon. Several are used as centerpieces or anchors in
the gardens.
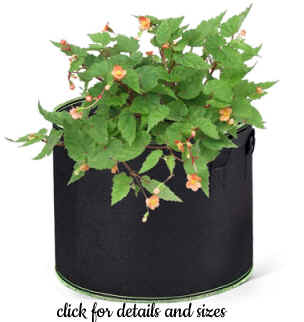
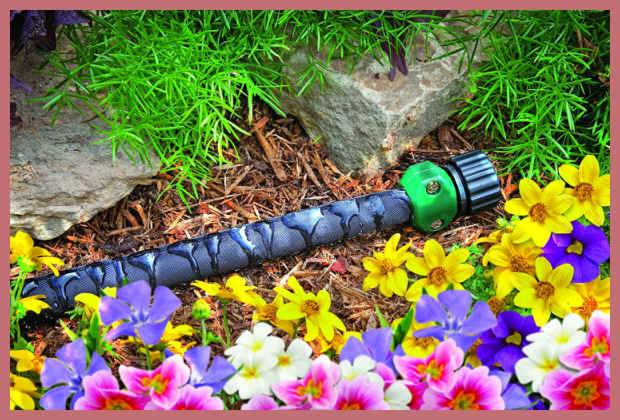
Potted plants in your circular garden should be covered, sheltered or mulched in winter, to prevent the pots from cracking. Make sure all of the pots have a drainage hole for the same reason. Gardens planted in-ground don't need winter mulching unless the plant care instructions say they do, but it would make the garden happier. You can purchase frost blankets that cover the entire garden. If using pots of annuals or tender perennials, there are some that would be really excited to winter-over indoors. Check their care requirements. I over-winter geraniums and succulents, dwarf lemon trees and non-cold hardy figs. They are used as indoor plants, as well as outdoor plants in summer. I have enough indoor light and space to fill their needs. Once you have your design in your head or on paper, prepare your bed in the circumference you chose. Make one circle or a series of circles. Outline your area with a hose and spray the outside of that circle with landscaper marking spray, or sprinkle baby powder on the hose to make that outline. Both methods will leave no markings after it rains. Make the garden whatever size and however many rings you wish. You can easily expand it out as you go along, or add more circles that touch each other and radiate out. If you're planting a raised circular bed that will sit on a hard surface, you can get right to laying weedblock fabric, dumping soil, and getting down to planting. I make good use of Smart Grow Bags. They are heavy duty woven aeration pots that come in big bed circular shapes, (and other shapes) and they are also available in lots of individual pot sizes, if you wish to combine them into an entire circle garden. I like them because i can squish the pots closer together than i can with pottery. Fill the large and small fabric pots with soil and plants, add a ground cover between the pots and edge it if you wish, and you're good to go. They can be left in the garden all year. I've had great success with them. All of the styles come with sturdy handles, so that the entire garden and each plant can be portable. The bags keep the plants from growing out of your design. The soft bags will allow the plant to stretch, something a clay or plastic pot won't do. These pots are readily available in lots of sizes and styles, and I have a lot of them used as parts of or an entire garden bed. If you will be planting right into the ground, dig out (sorry, but that's how you have to do it) and weed that area. Cut pieces of landscape fabric to entirely cover it, and use galvanized landscape staples to hold it down. I can push them right into the soil, but if you have rocks or hard areas, using a rubber mallet works great and it feels good. Add bags or a truckload of soil over that, add amendments like compost or peat moss if you wish, and plant away. Or, rather than dump more soil, you can just cut circles as you plant to pop the plants into. You don't need to be overly meticulous with measurements. Follow the plant's needs for width at maturity. Your plants will not cooperate and stay in place anyway, unless they're in pots. If using a ring of pots or several, arrange them in their ring according to pot size. Make sure they are "planted" a little bit into the ground to keep them from falling over and breaking in a storm. Or place them on a flat surface of some type. Earth moves, and it will move your plants, especially after heavy rains. I like 6-8" pots so that the plants don't get too cramped and rootbound, and they're heavy enough not to keel over easily. Place soil in any gaps around the pots, and add a very low ground cover plant. You can use a decorative mulch or gravel if you wish to fill in between the pots. I ignore the gaps when I plant, because I know that the plants will completely fill the bed as they grow. Save any plants you thin out and place them in pots, ready to fill in gaps that may occur. Or use them in your other planting areas, like window boxes ornamental structures, or at the bases of large plants until you need them. Water your newly-planted garden well, and use a natural fertilizer, like fish emulsion or epsom salts every few weeks all summer. If you're using potted plants, they will have to be watered more often than an in-ground garden plant. I use drip soaker hoses between the rows and in-ground plants. Cover the hose with soil or mulch. Drip irrigation uses up to 90 percent less water, because the water goes to the roots directly, and doesn't evaporate or get sprayed into the air. The hoses get connected to your main hose. If you are close enough to the water source, you can leave it set up. If your garden is a distance away from the water source, you can leave the soaker hoses where the are, separated from the big hose, and just run your big hose to it, and attach it to the soaker hoses when you decide to water. The hoses inter-connect and most have end caps, so feel free to play with the configuration. I use 2 - 75ft, flat drip irrigation hoses on a Y-splitter, so that i can run them in the front and back gardens at the same time, from the main faucet. Edge the circle with bricks, river rocks, gravel, wood, or anything you like, to accent the edge, give it a clean look, and keep the garden within confines. A good thing, especially if you're growing on a fresh mound of soil that raises the bed, or growing it in a lawn. You don't want to damage the plants with a mower or weed trimmer. I guarantee that will make you cry. And you don't want grass and weeds to invade your circle, or plants to escape and plant themselves elsewhere on your lawn. Maintenance of a centerpiece garden will include diligent weeding, thinning out plants if they're in-ground, and trimming plants if they're in pots, to keep the lines of your design from blurring. If the plants in pots are becoming root-bound, you'll want to divide or go up a pot size. |
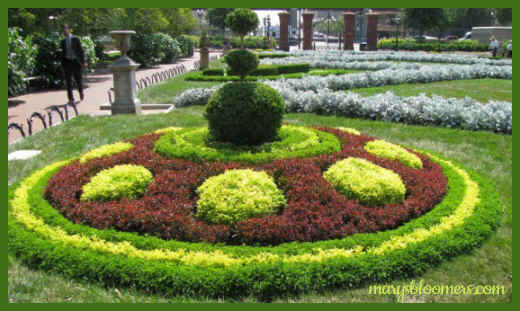
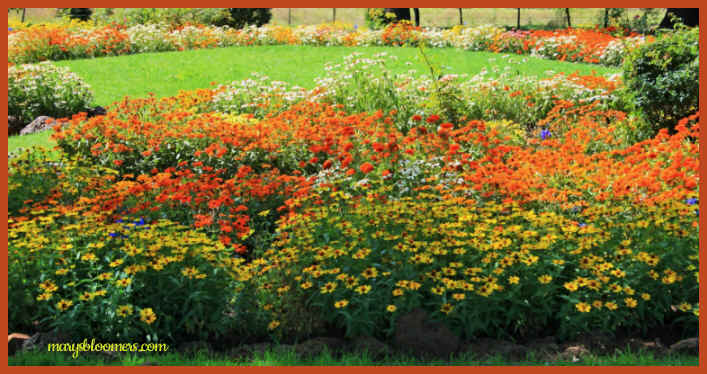
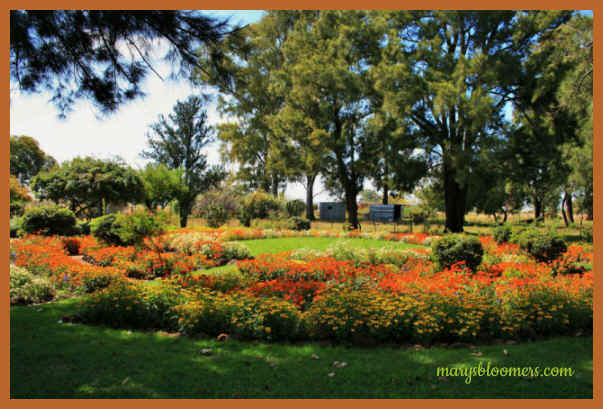
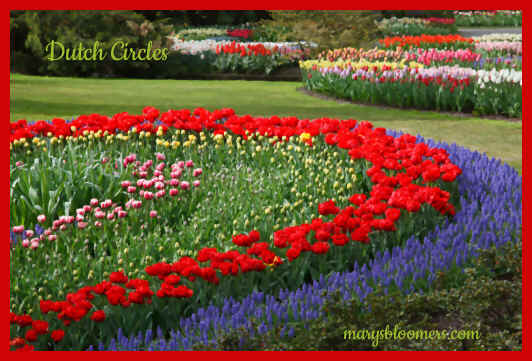
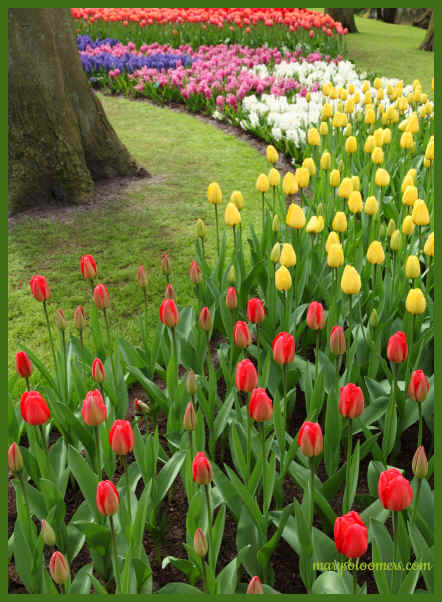
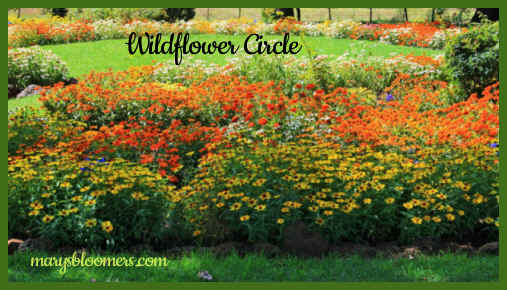
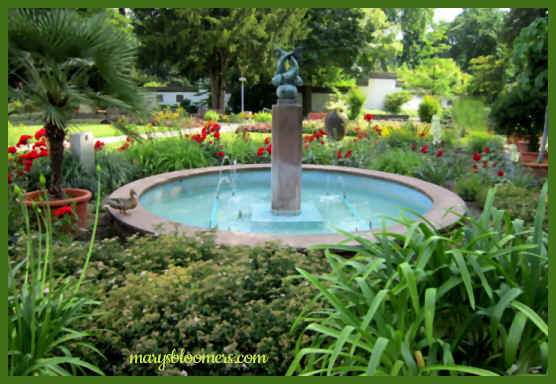
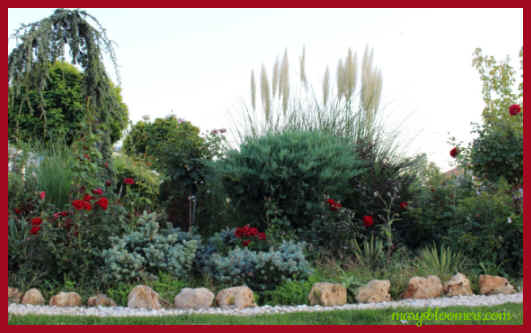
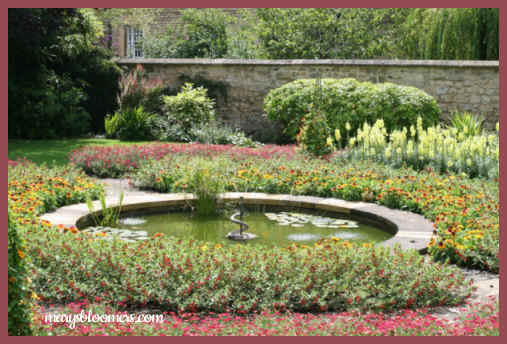
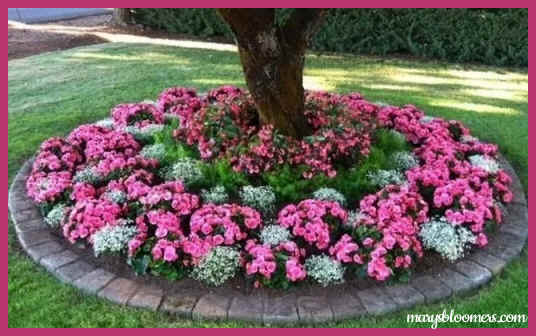
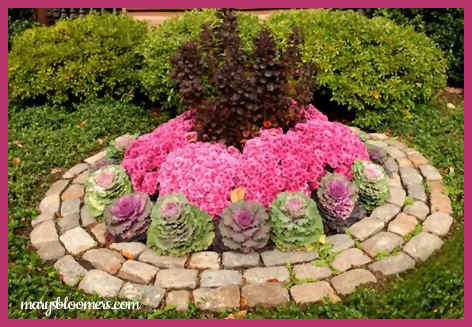
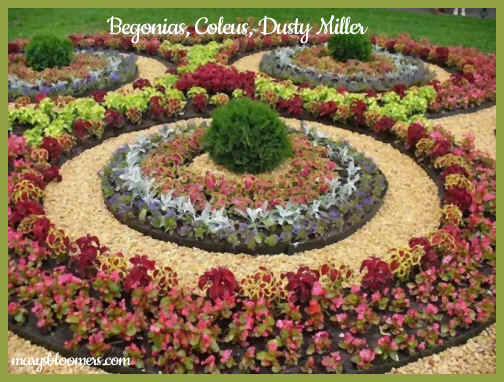
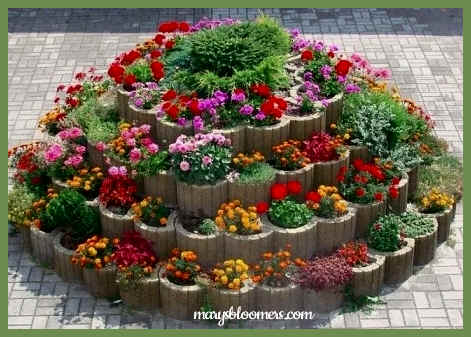
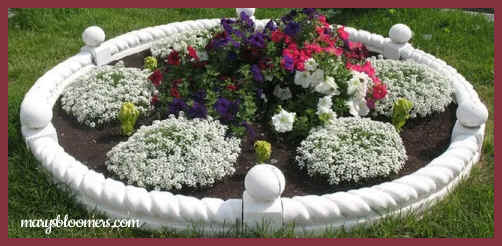
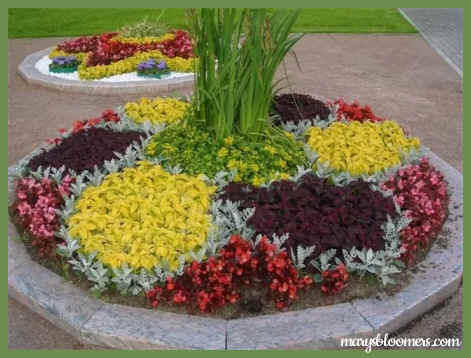
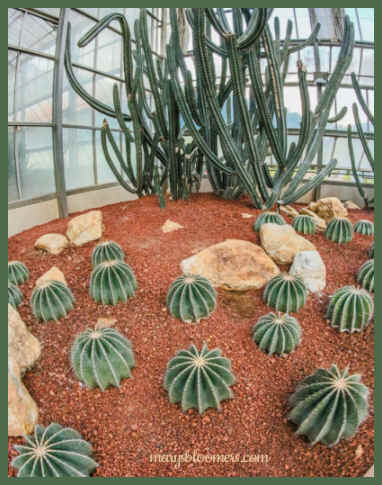
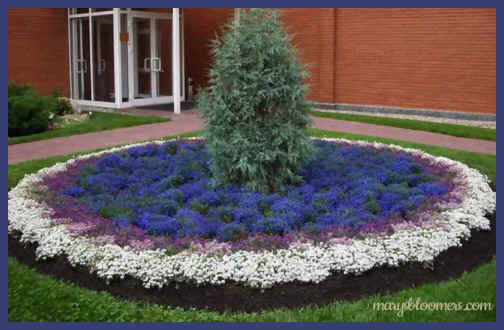
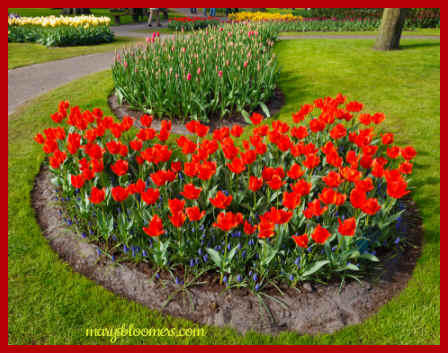
Here's a gallery i put together of some circular gardens to help motivate you, spark ideas for design, and and give you an idea of the plants you might wish to grow. Your plant nursery is an invaluable source of information about plants that are native, most suitable and hardy for your garden. Draw out your plan, and ask them for suggestions for native plants and pollinator attractors. An entire circular garden can be designed as a butterfly and bird habitat. It can be used as a design for herb and vegetable accent gardens as well. Your circles can be designed for sun, shade or mixed light, and areas with very dry/wet/boggy conditions. f Have it flush with the ground, or make a raised bed. You can create a circular rain garden in your wettest spots, or grow a beautiful cactus and succulent circle garden in a hot and dry spot. Choose favorite
plants that will meet the growing conditions and mature
height/width needs in your garden. Check the USDA cold hardiness
zone map for your area when making choices for your perennials.
If using annuals and planting the bed again every spring, the
plants end when the season ends. |
 |
 |
 |
|
 |
 |
 |
 |
 |
 |
 |
 |
 |
 |
 |
 |
|
|
Quick
Links
Content, graphics and design ©2020 marysbloomers.com
All rights reserved
